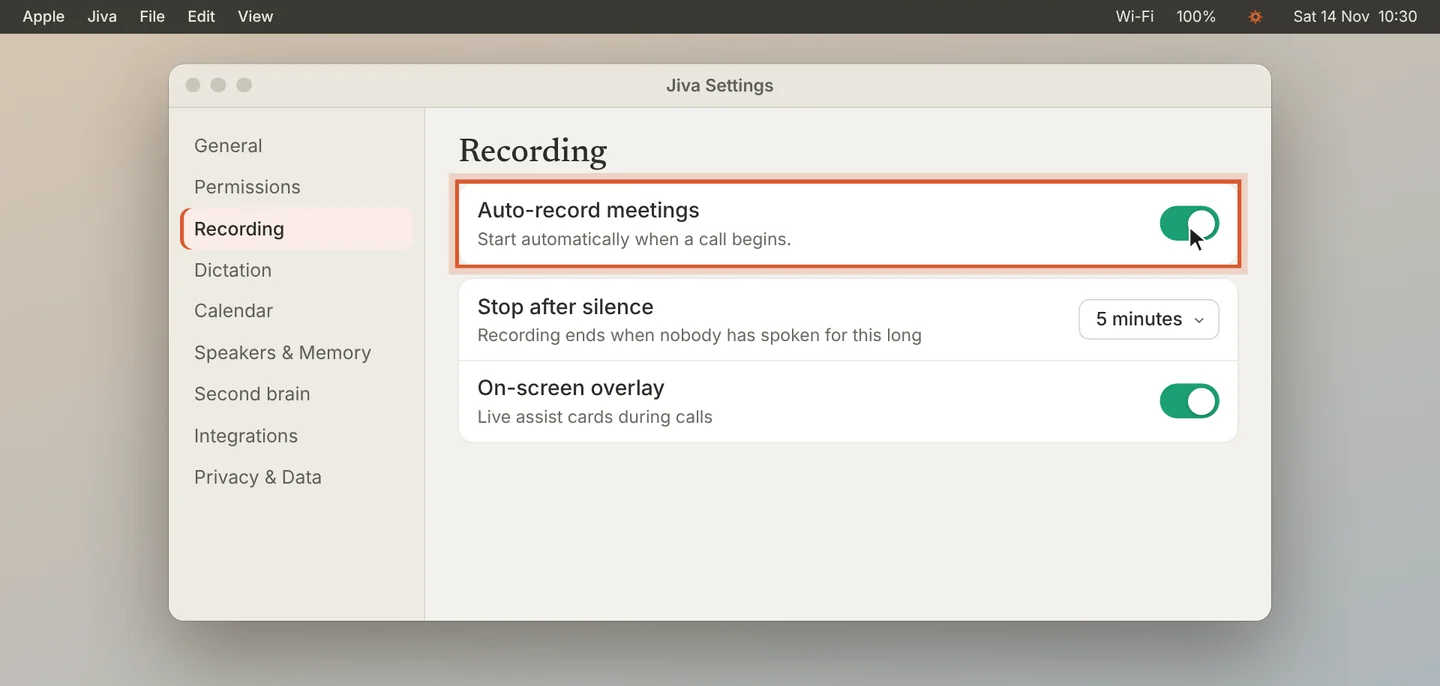
Turn on Auto-record
Open Settings, then Recording, and turn on Auto-record meetings. The Auto-record button at the top of the Jiva window does the same.
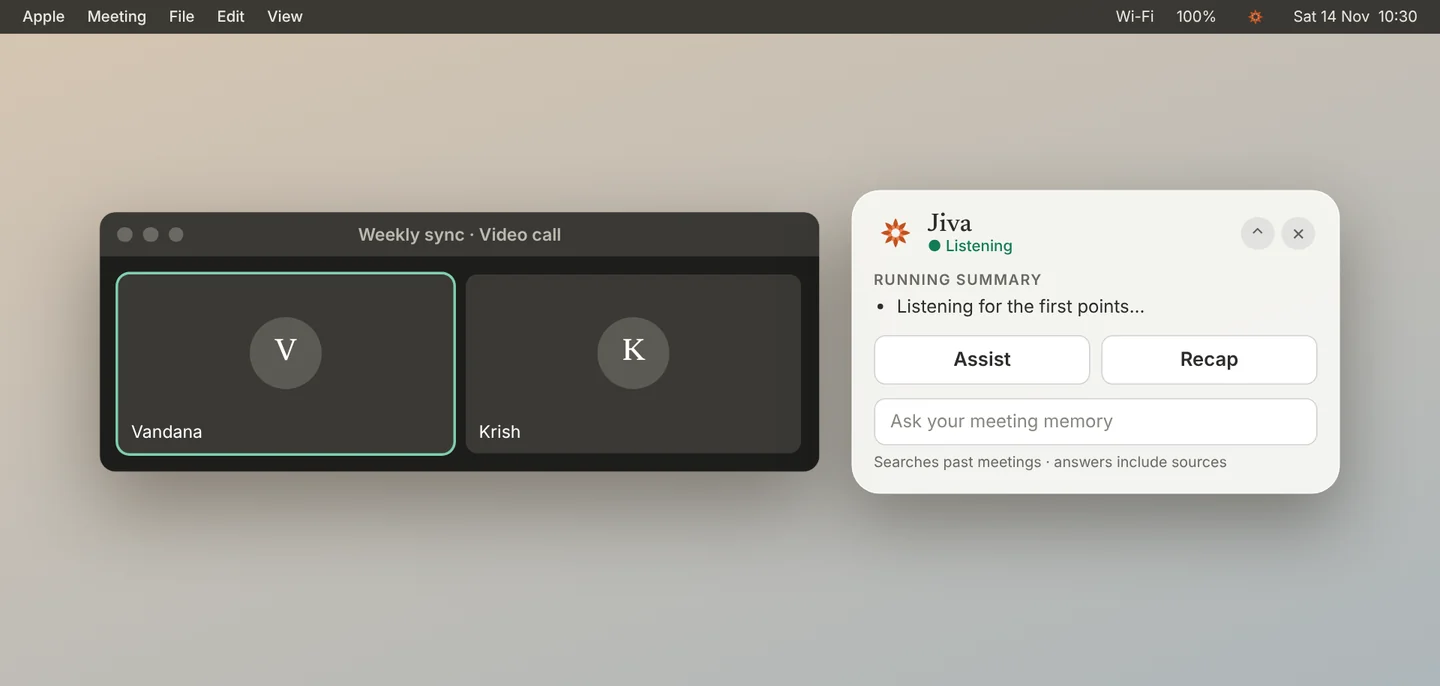
Join a call
Join your call as usual. Jiva starts recording when the call begins. It starts only when the meeting app uses your microphone, so a notification sound does not set it off.
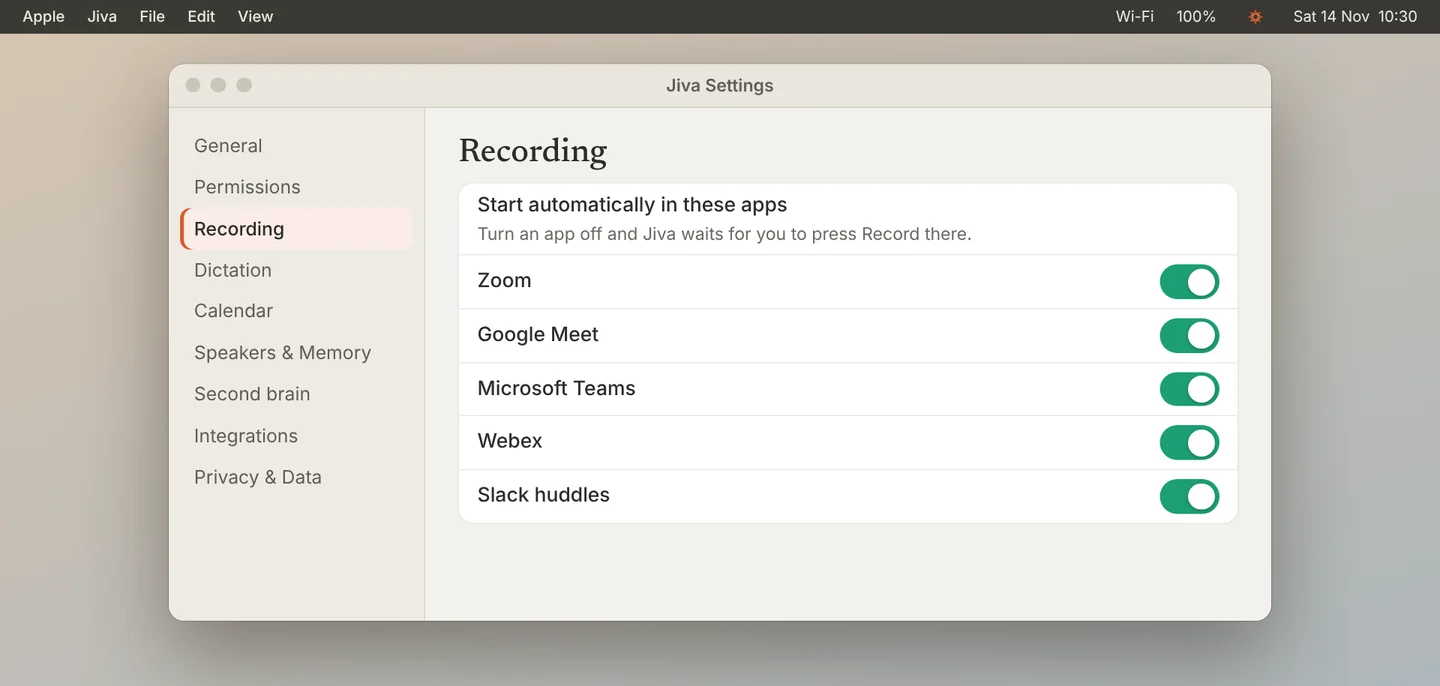
Know where it works
Auto-record works in Zoom, Google Meet, Microsoft Teams, Webex and Slack huddles. Jiva detects Google Meet when its tab is in front in your browser.
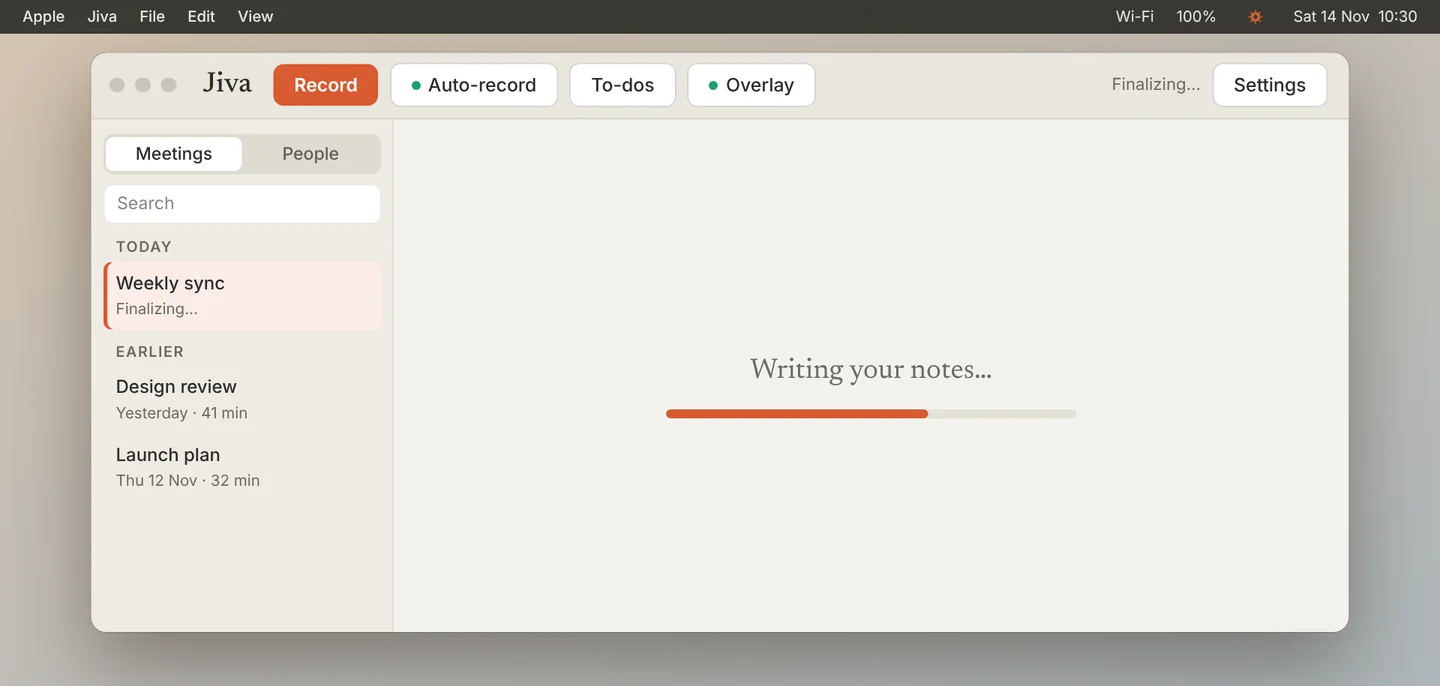
Leave the call
Leave the call. Jiva stops a few seconds later and writes your notes. You do not need to click anything.
If you click Stop during a call, Jiva does not start again for that call. A recording with no speech in it is discarded.
If something goes wrong
Jiva did not start
Check that Auto-record meetings is on, and that the app is on under Start automatically in these apps. For Google Meet, bring the Meet tab to the front.
Jiva started when I was not in a meeting
Tell us which app was open: write to ceo@jiva.works. You can turn that app off under Start automatically in these apps.
Jiva stopped too early
Open Settings, then Recording, and set Stop after silence to a longer time.