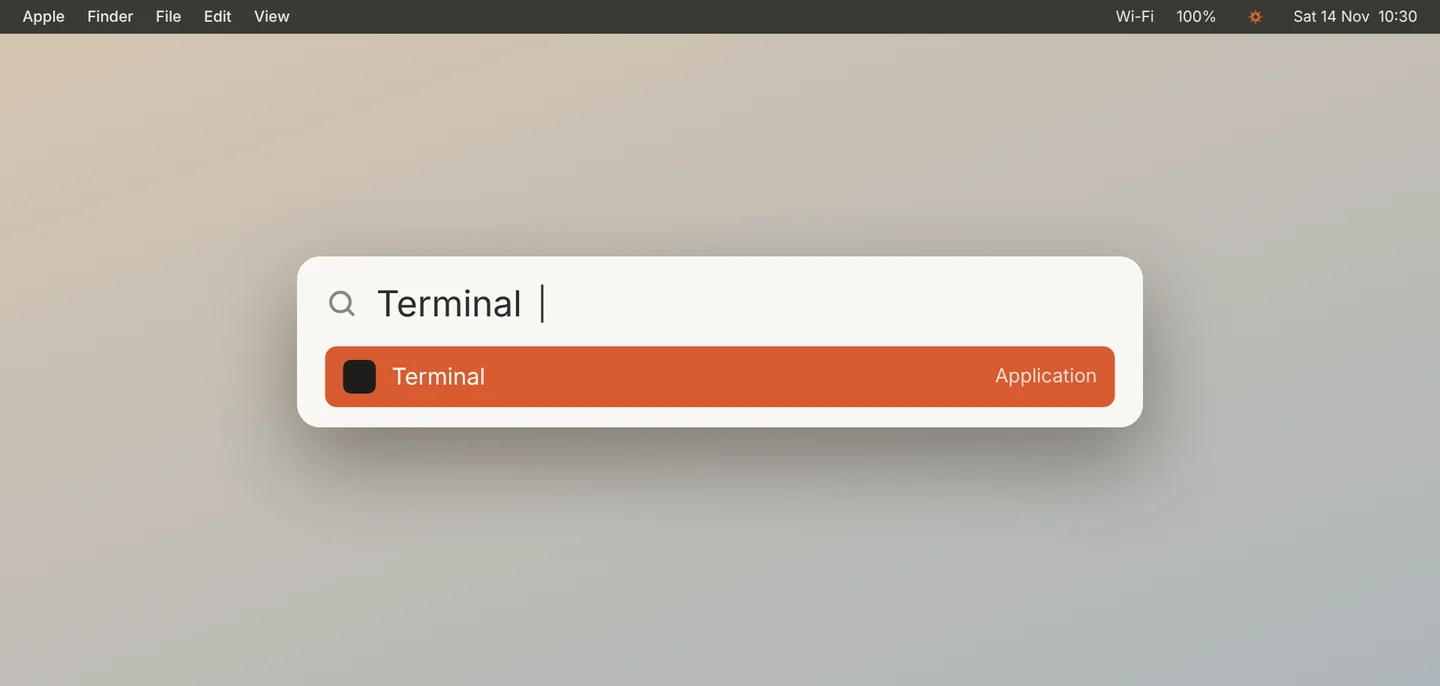
Open Terminal
Press ⌘ Space, type Terminal, and press Return.
Paste the install command
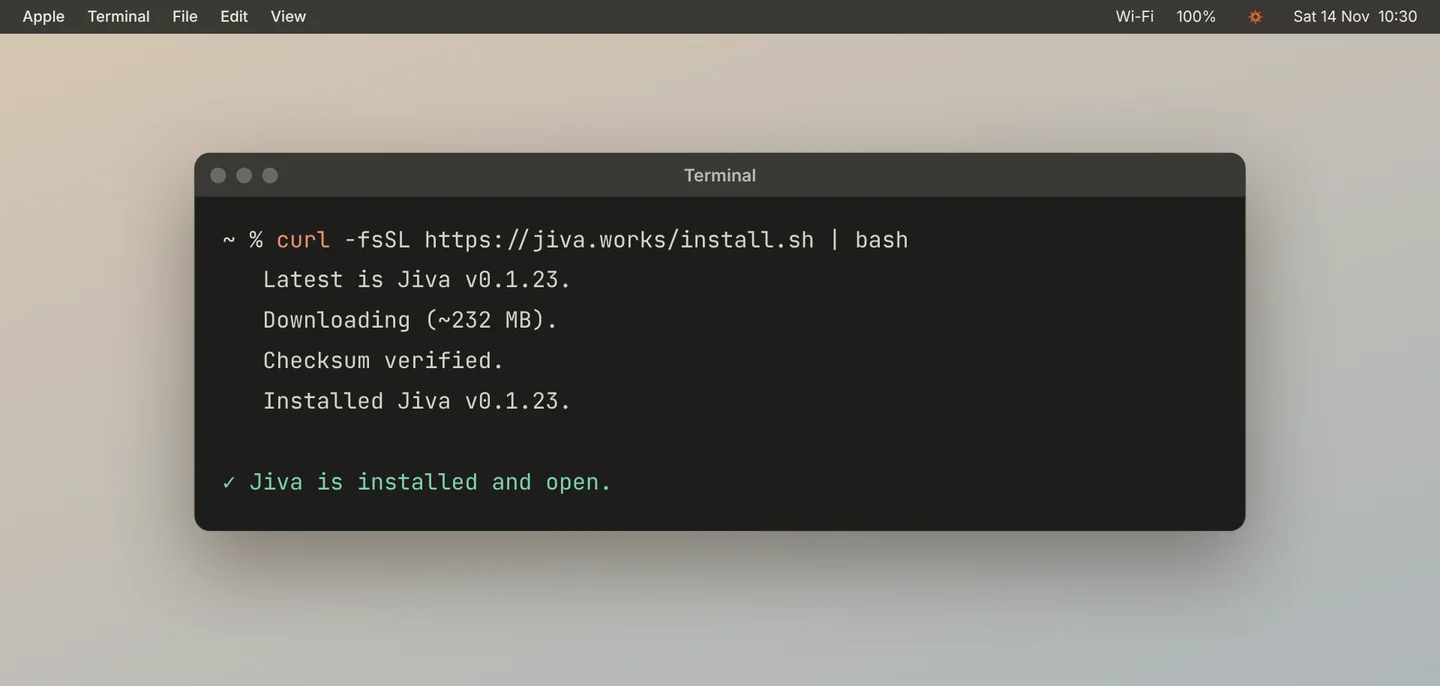
Copy this line, paste it into Terminal, and press Return.
Jiva downloads, checks the file, and installs into your Applications folder. This takes about a minute.
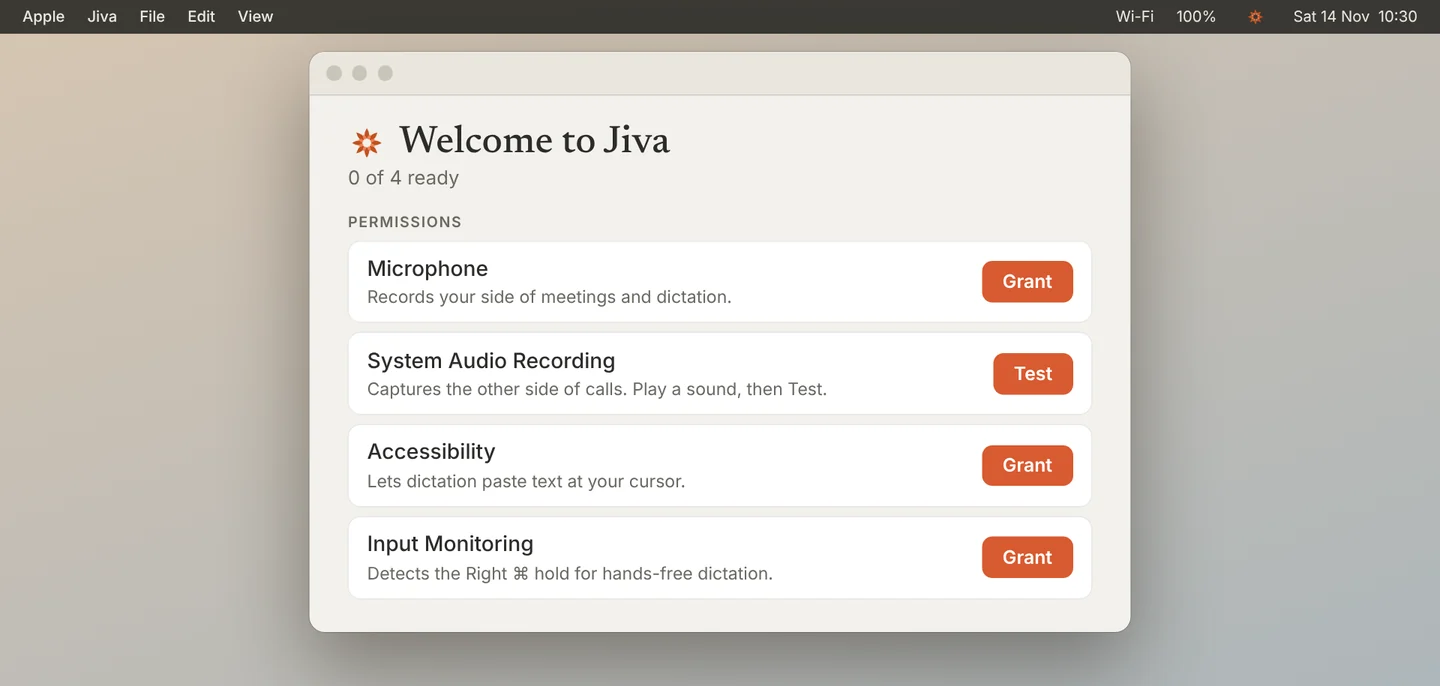
Wait for Jiva to open
The Welcome to Jiva window appears. Leave it open. You grant the four permissions here in the next guide.
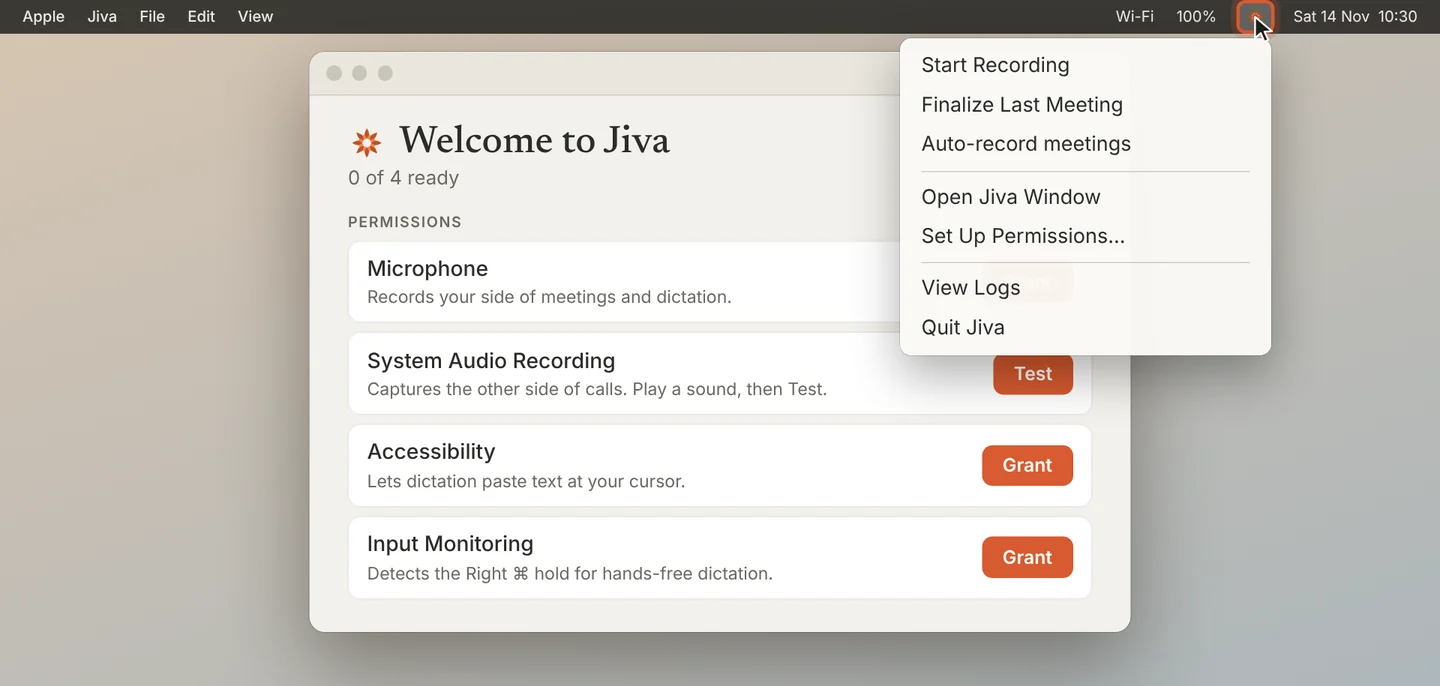
Find Jiva in the menu bar
Look for the lotus at the top right of your screen. Click it to start a recording or to open the Jiva window.
Apple has not notarized Jiva yet. The install command handles this for you. If you install by hand, follow “Install from the download” below.
Other ways to install
Install with Homebrew
If macOS blocks the first launch, Control-click Jiva in Applications, choose Open, then Open again.
Install from the download
Download Jiva from the top of this page. Open the disk image and drag Jiva to Applications. Then run this once in Terminal before you open Jiva:
If something goes wrong
“Jiva is damaged and can’t be opened”
You installed by hand and skipped the unlock step. Run the install command in step 2. It fixes this.
Jiva installed but no window opened
Click the lotus in the menu bar and choose Open Jiva Window. No lotus? Open Jiva from your Applications folder.
My Mac has an Intel chip
Jiva runs only on Apple-silicon Macs (M1 or newer).